Repair of 205 GTI 1.6L rims
After we bought our Peugeot 205, we quickly had the idea to equip it with aluminum wheels. We quickly fell in love with the design of the 205 GTI rims (1.6L version). We then acquired four rims in a bad aesthetic state.
We set ourselves the goal of repairing our rims directly at home, using materials that are easily accessible for individuals. The expected result is obviously not the one we could obtain by going to a professional, or by using dedicated tools.
Here are the different steps we did to give back our rims a nice look.
Preliminary stage
When we bought our rims, we made sure that they were not cracked. In our case, the four rims had only cosmetic defects, which could be easily repaired.
It’s important to keep in mind that aluminum rims don’t use the same bolts as sheet metal ones: 205 GTI rims require flat bolts.

Step 1: Sanding
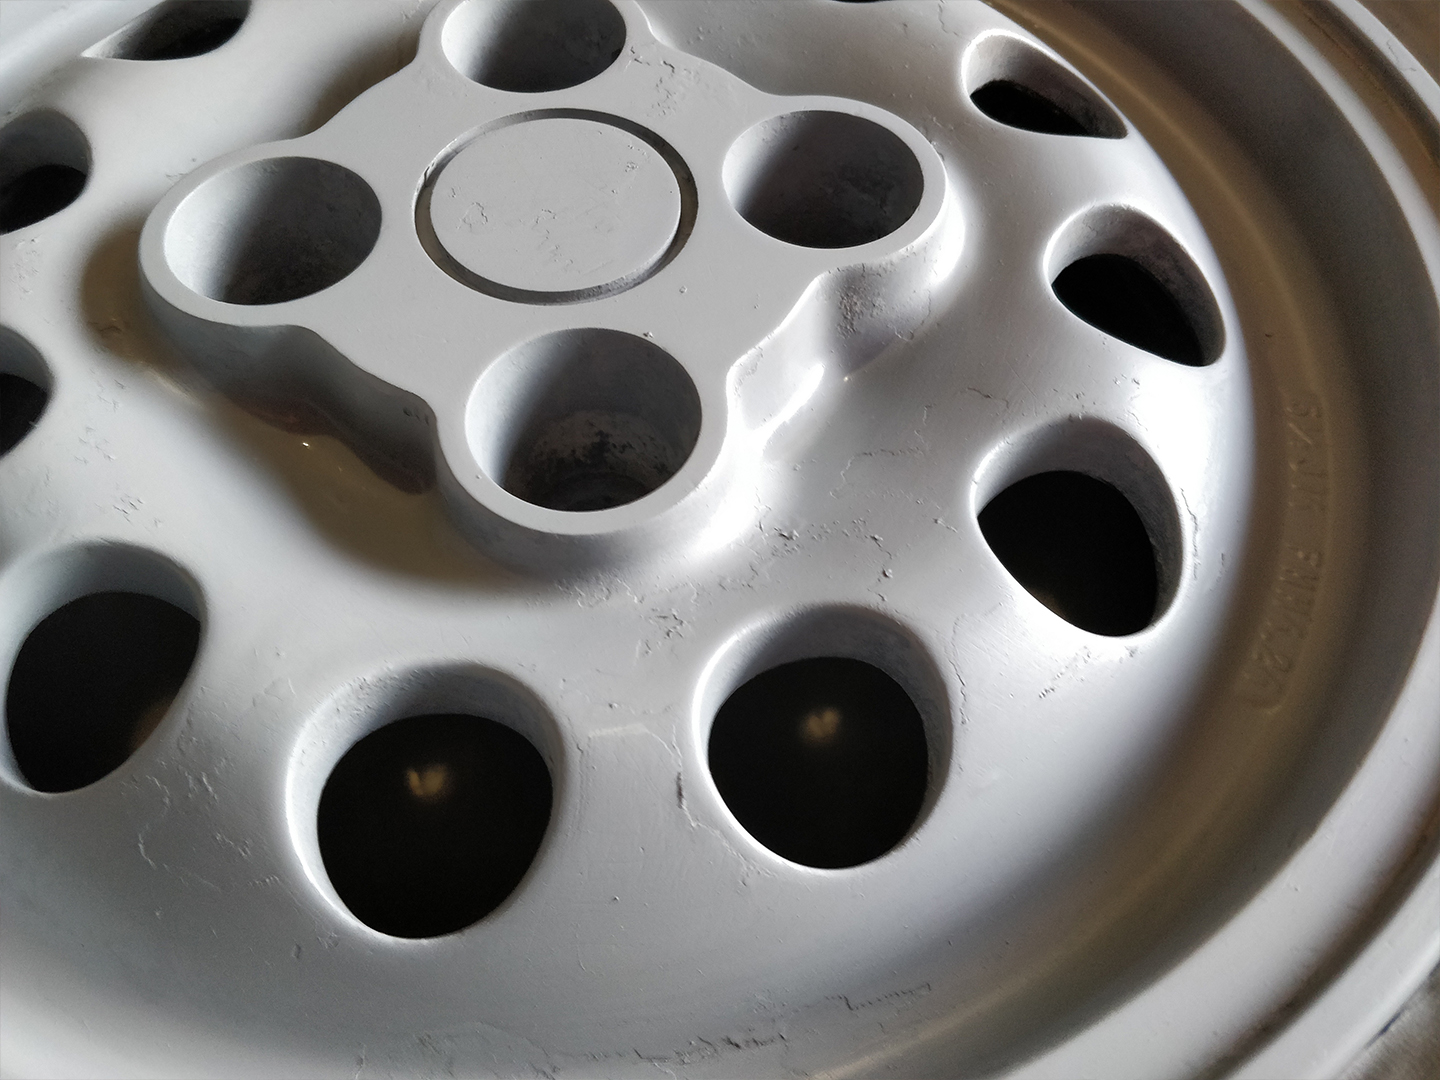
The first step we did was to sand the whole rim. This sanding allowed us to remove the old paint that was peeling in some places, and to smooth the rim all over.
If the rim has an impact that has removed a good chunk of aluminum (easily visible to the naked eye), it may be worthwhile to add some material to even out the surface. In this case, an aluminum filler can be used.
For the sanding, we proceeded by respecting the following grains:
- Grain 180
- Grain 300
- Grain 450
We notice that after the (tedious) sanding, the rims lose their shine but are much smoother to the touch.

Step 2: Degreasing
Once the four rims were well sanded, we cleaned them properly to remove impurities (rubber around the valve, dust), and we degreased them.
For our homemade degreasing, we simply used water with dishwashing liquid and a sponge.
Step 3: Preparation for painting
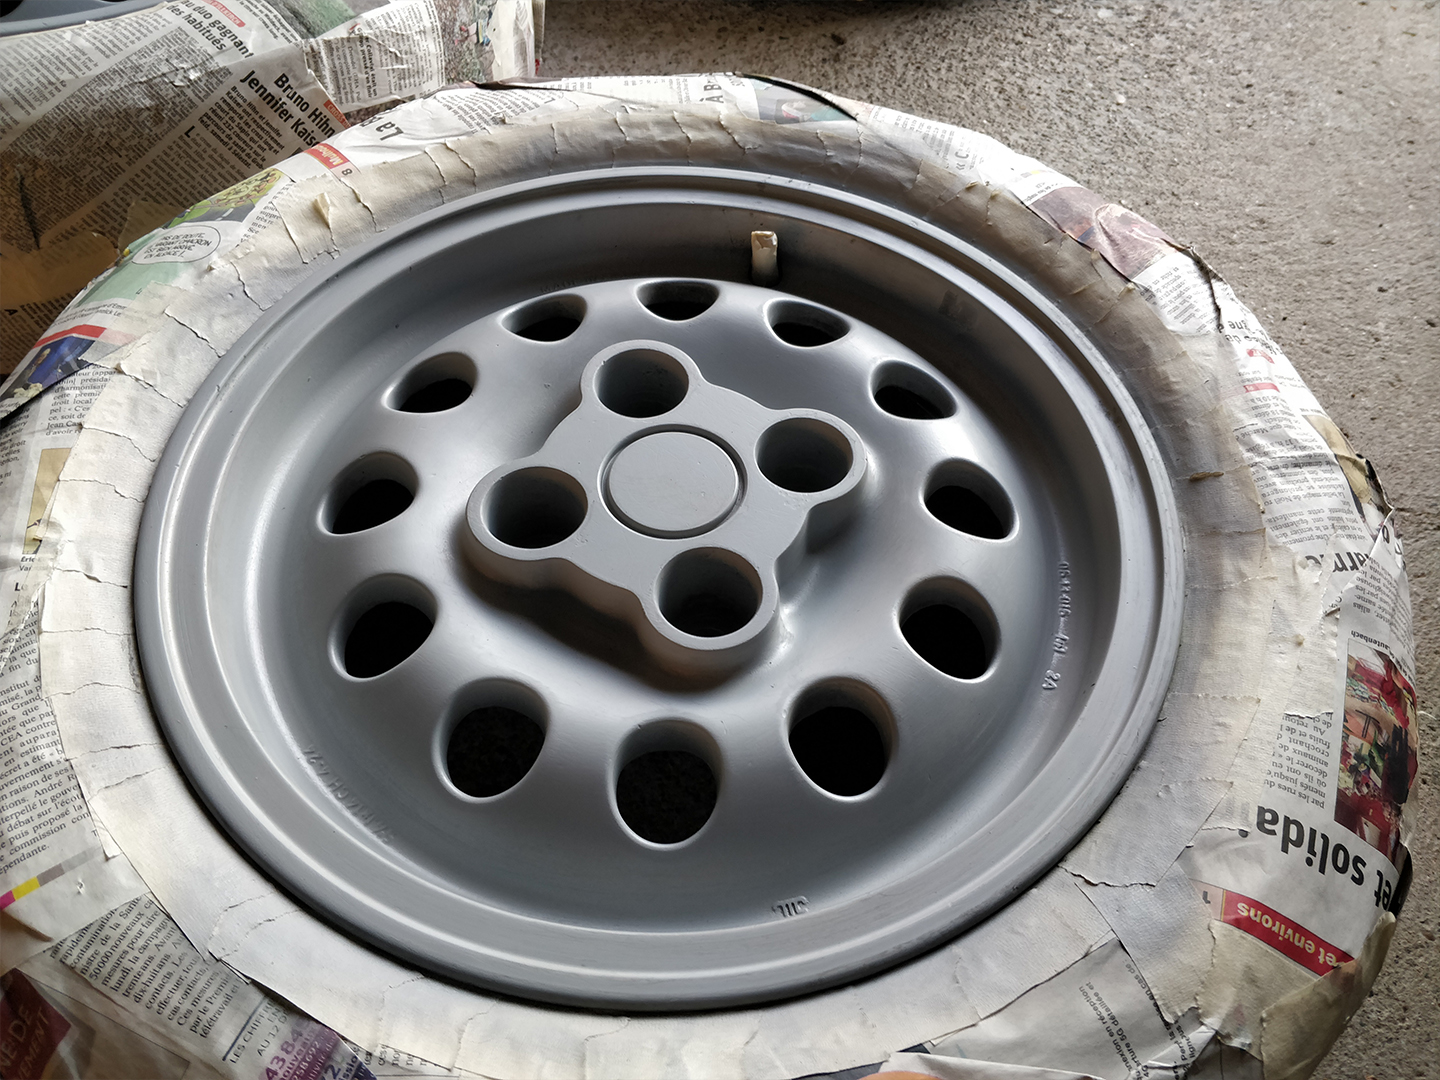
We decided to have new tires mounted before painting, to avoid potential snags that can occur during mounting. Once the tires were mounted and balanced, we again cleaned the wheels of any marks that had occurred in the meantime, and masked the tires with newspaper and masking tape.
Warning Do not forget to cover the valves as well!

Important to note: The original GTI 1.6L rims have a “machined” center. This means that the center is circularly sanded to a grit of about 400. If you want to do this, don’t forget to also mask the center with tape. In our case, we chose to paint the center.
Step 4: Priming
Now that our wheels are ready to be painted, we can proceed to the application of two coats of primer. This step is very important because the primer allows the paint to hold better to the rim.
We used cans of special primer for metal surfaces, and after some research, many people have already used it on their aluminum rims.
We applied a first coat of primer, let it dry and then sanded the small remaining traces (paint splashes, …) with 400 grit.
Tip For the spray painting to go well, be sure to follow the recommendations of the seller. In our case, we waited until we had a room temperature of at least 12°C, and we let it dry for at least 24 hours between the different coats.
2nd tip Remember to use the spray can in small sprays, in several directions (vertical then horizontal for example), in order to properly cover the entire surface.


After sanding the first coat of primer, we applied a second coat of primer, a little thicker than the first.
Step 5: Painting
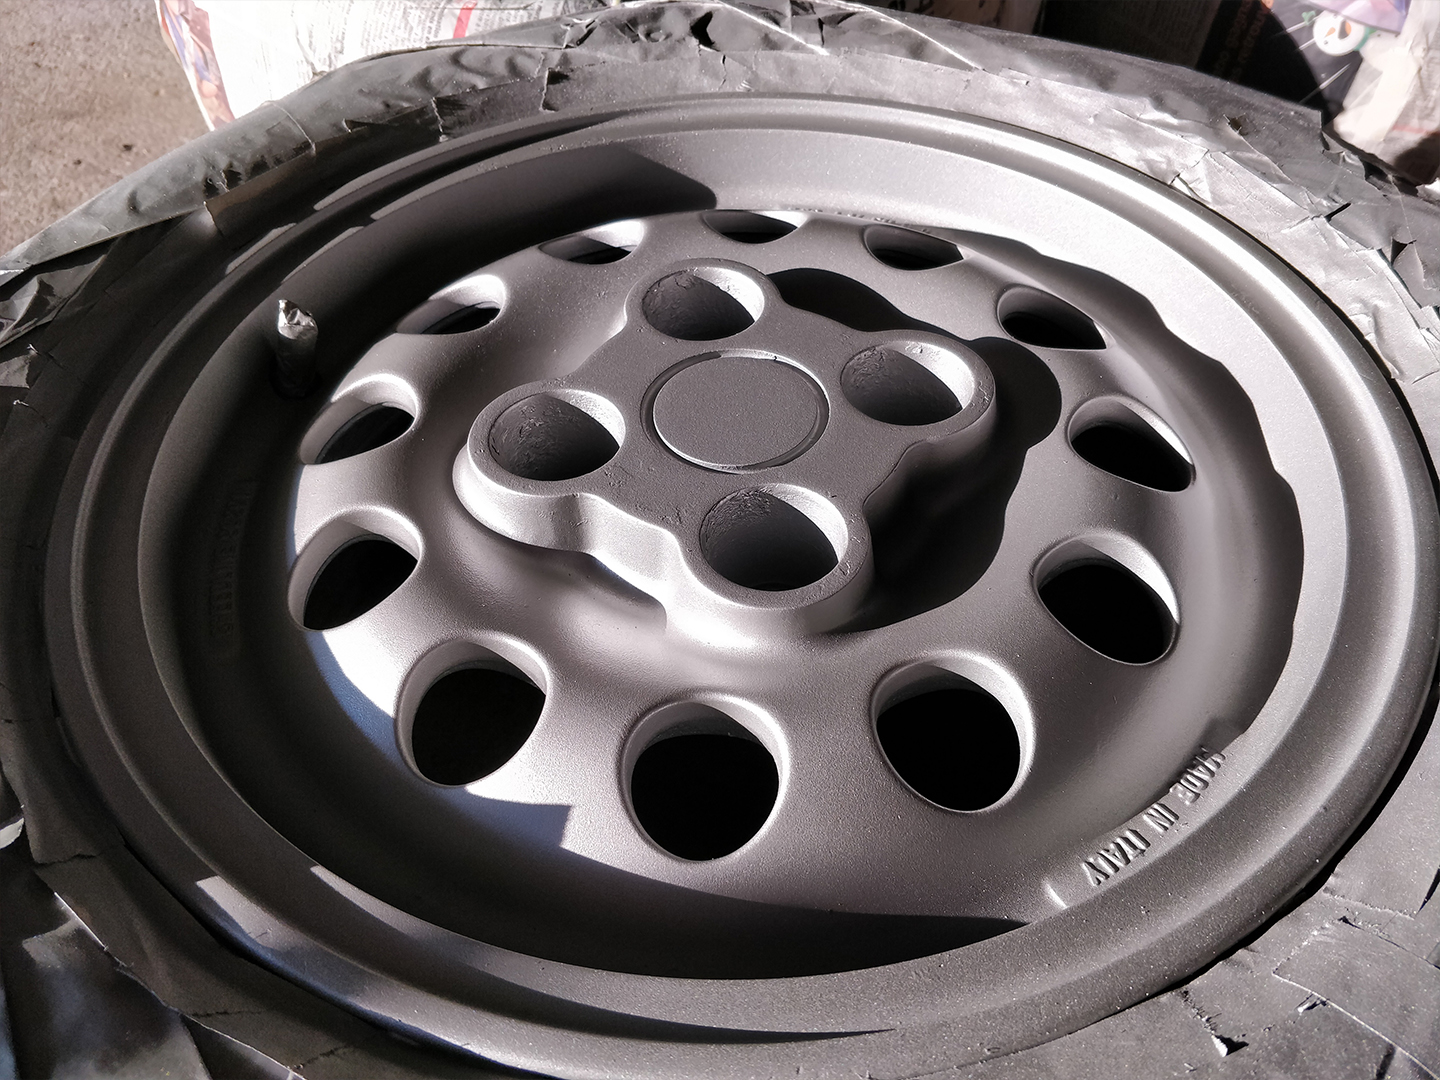
After waiting for the primer to dry, we applied the first coat of paint. We chose the original gray color that was on the original GTI rims. As for the primer, we started with a thin coat of paint.


Once the first coat of paint was dry, we applied the second, slightly thicker coat.
Step 6: Varnish
Finally, once the two coats of paint dry, we applied in the same way two coats of varnish (monocomponent, or 1K, in our case) on the rims.

The varnishing step is very important because it allows to protect the wheel, and thus increase its lifespan.

Results
Once the two coats of varnish were dry, we could remove the newspaper and masking tape protections. So, we can now admire our renovated wheels directly at home!
As we said earlier in the article, the result is far from being perfect, but it’s more than enough considering the money invested. However, doing this renovation yourself requires a certain amount of time, but allows you to learn more about painting and wheel restoration techniques.

Source
The main source we used is a post from the user 3dfx on the planet-205 forum: [FR]Réfection jantes GTI 1600