Design of a custom roof rack
In order to carry more stuff easily, we quickly realized that we would need to use the roof of the car. We started by buying two crossbars on the second hand market, but we knew we would need to add a roof rack to increase the usable storage area. At first, we thought we would buy a classic roof rack that could be found on the used market, but then we started looking for a custom made roofrack.
This roof rack would not have been possible without our partner John-Steel, the online metal and wood cutting site, who did the laser cutting of our plate. We thank them very much!
Design phase
Step 1: Designing blueprints
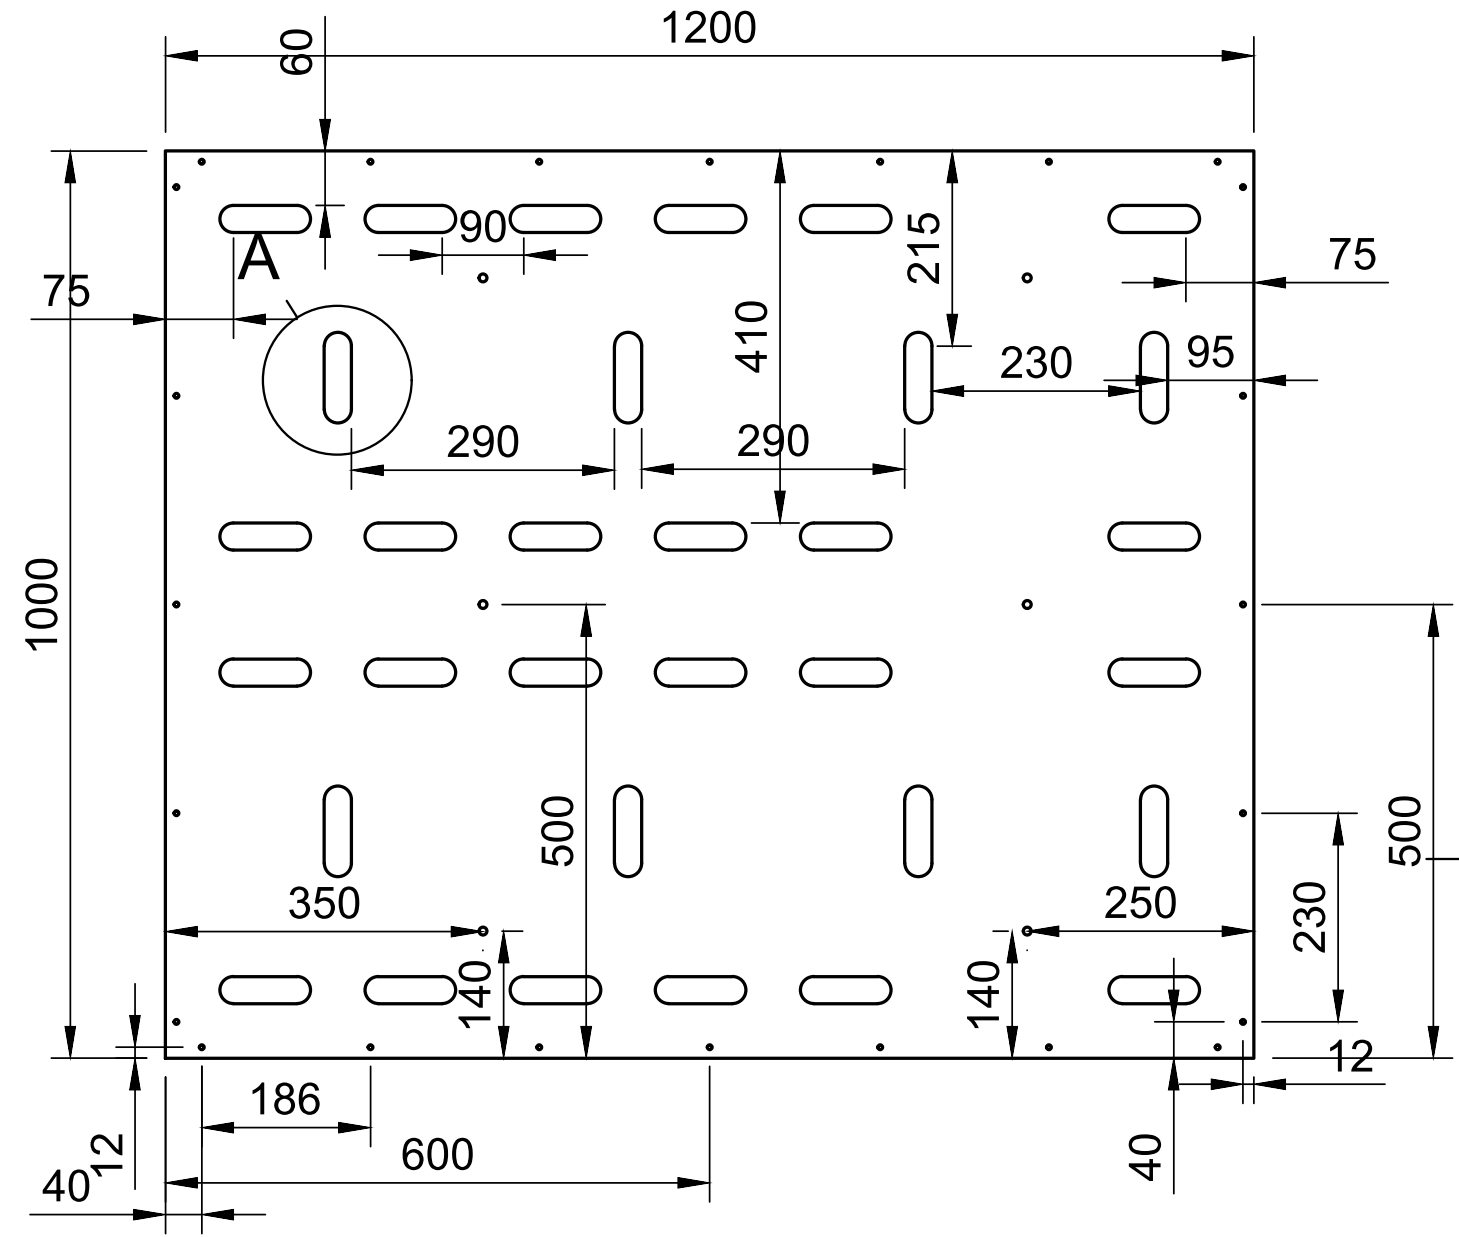
To determine the holes positioning on our future roof rack, we started off on the things we already knew : the crossbars. We started by measuring the distance between these two to find out the position of the holes. We also took the measurements of the maximal possible length and width of the roof rack, and with these elements we decided that it would meausre 1200mm x 1000mm.
To be noted : One must be careful not to make a roof rack too wide, in which case it would not be legal to use. It is also important not to make it too long, to be still able to open the trunk and keep a good visibility !
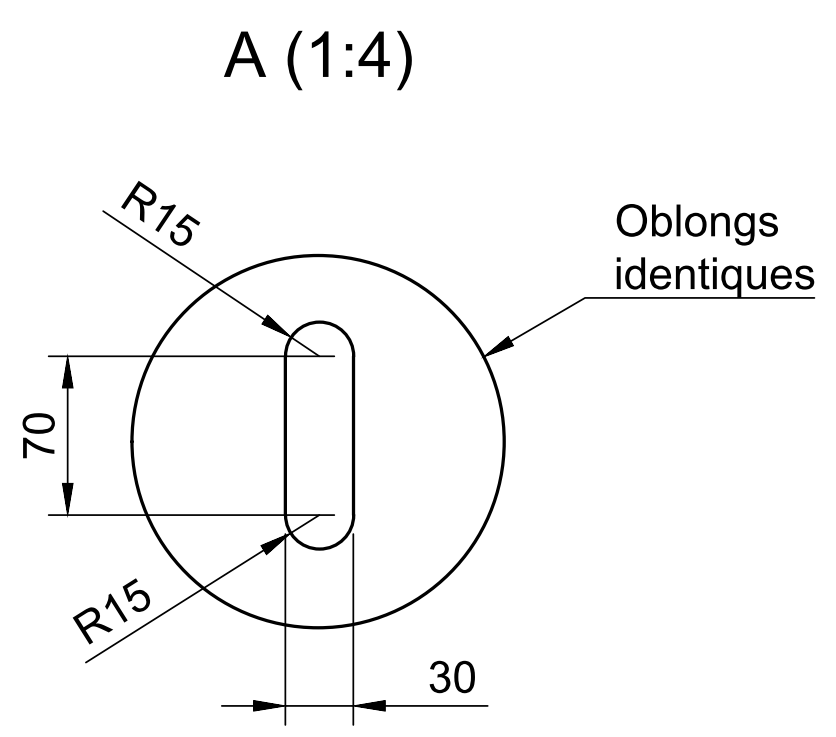
We also decided to place slotted holes at regular intervals to be able to attach straps on various ways to correctly secure our equipment. Moreover, to make the roof rack more stiff, we planned to place perforated mounting angles on all sides. We also placed holes at regular intervals at the edges of the roof rack to set those mounting angles.
On the following images are the development plans of our roof rack : the small holes along the edges are M5, the 6 larger holes to set the roof rack to the crossbars are M8.
Step 2: Cutting the plate
Once the schema done, we created it using a CAD software (in our case it was Fusion360) to make a DXF file, which is suitable for laser cutting services.
It is at this moment that our partner John-Steel come into play. John-Steel is a made-to-measure metal and wood cutting service website, allowing individuals to drop their DXF files or using the online editor to create pieces that suit their needs, and get a quote in real time.
We sent our DXF file on the John-Steel website, we selected the wanted material (stainless steel 304L, thickness 2mm), and we directly got the price. A few days later, the metal sheet was ready and compliant with the file we gave.
Here is a picture of the metal sheet just unwrapped:
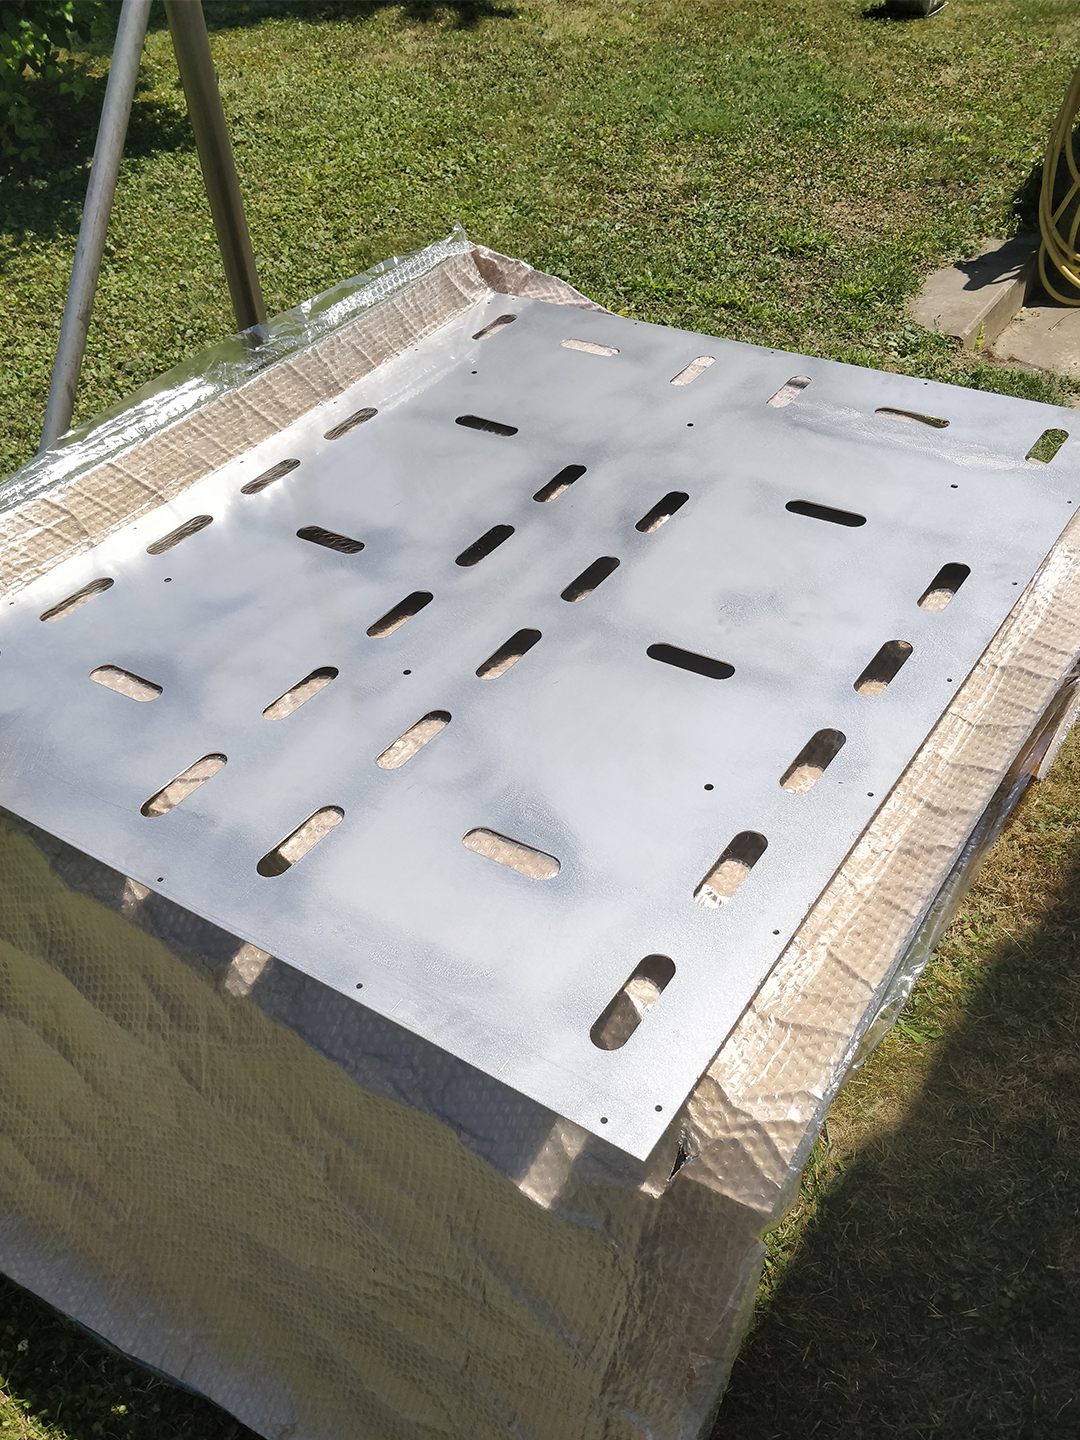
We are perfectly satisfied with this one, which is fully compliant with our file and our initial idea.
Assembly phase
Step 1: Attachment of the angles
Given the dimensions of our steel sheet (quite large for a thin thickness), it was likely to deform slightly if a heavy weight was placed on one of its ends.
Therefore, we decided to install mounting angles all around the edges to stiffen the overall structure of our roof rack. To do this, we used 22.5mm square and 1.2mm thick perforated mounting angles in galvanized steel. Here is the result once the angles were fixed:
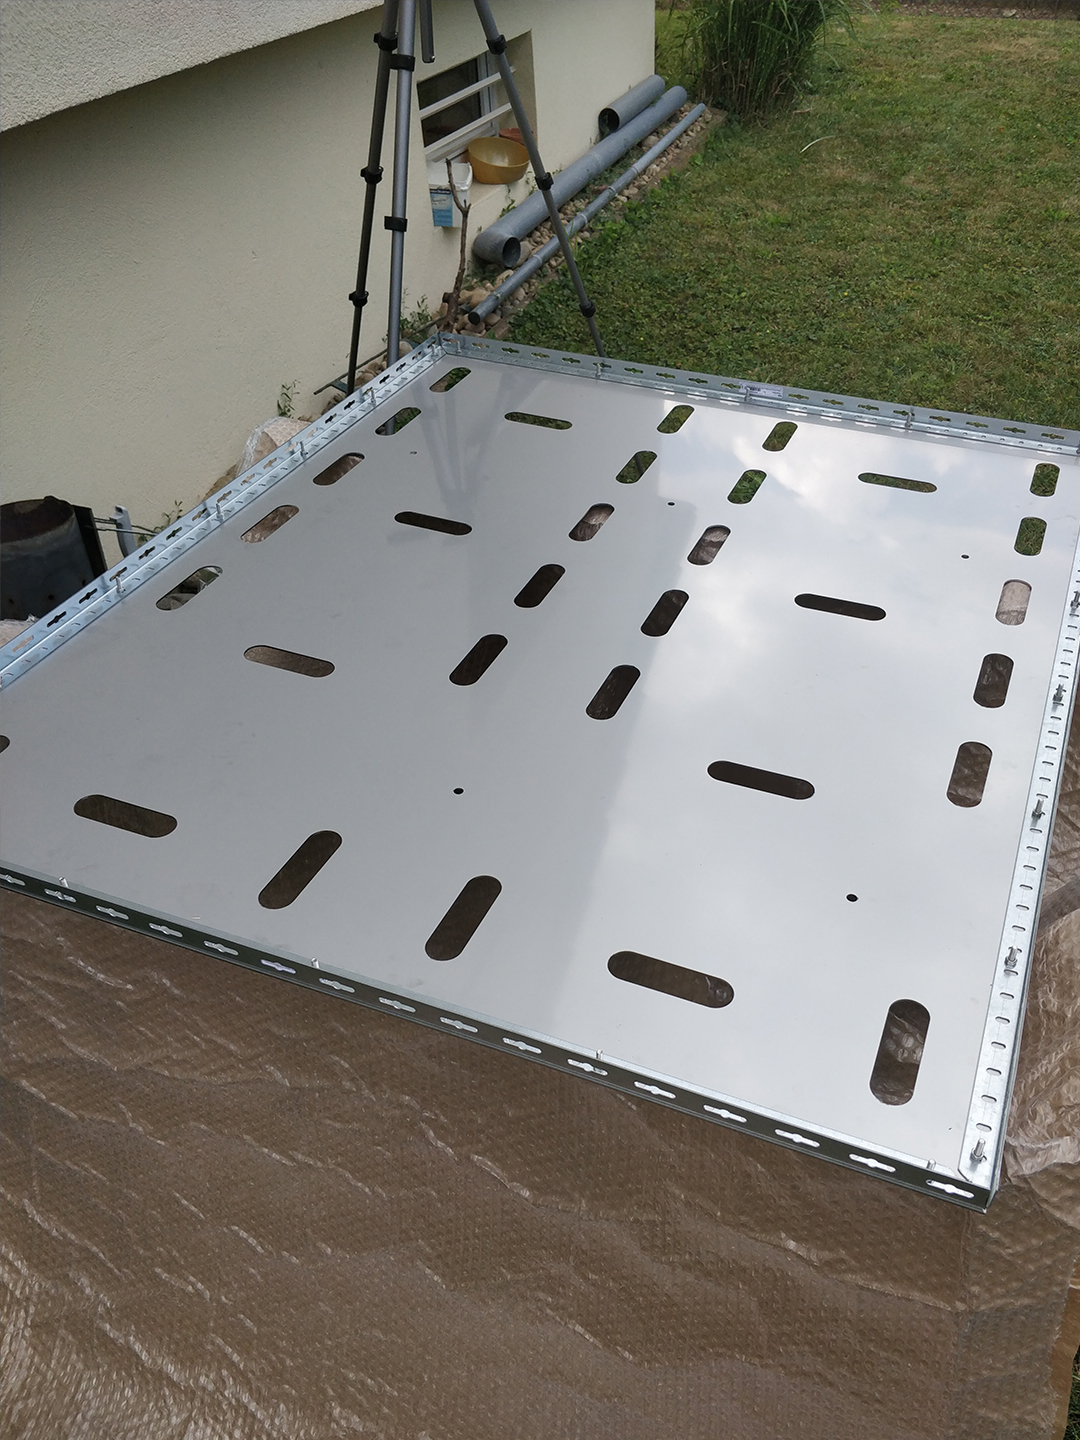
Step 2: Attaching the roof rack to the roof bars
Now that our plate is more rigid, it’s time to fix it on our roof bars. To do this, we checked that the distance between the two bars corresponds to the distance between the holes in the plate, then we drilled them at the right places in the bars.
After that, we put the roof rack on the bars and fixed it with M8 screws and locknuts, to avoid vibrations to loosen the nuts.
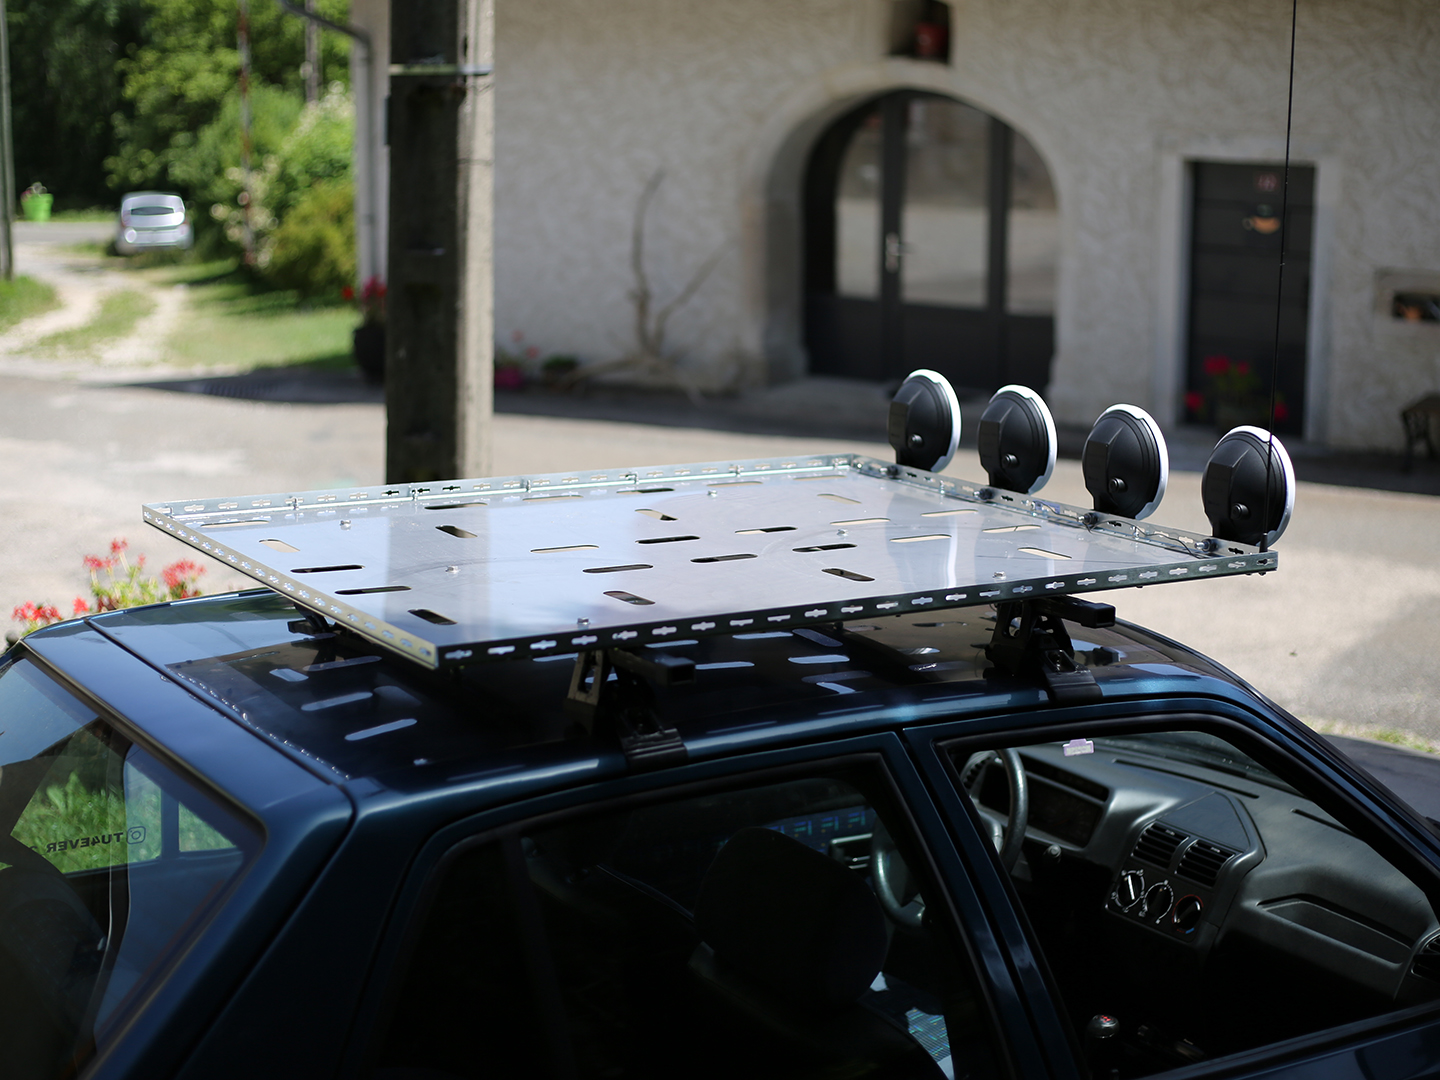
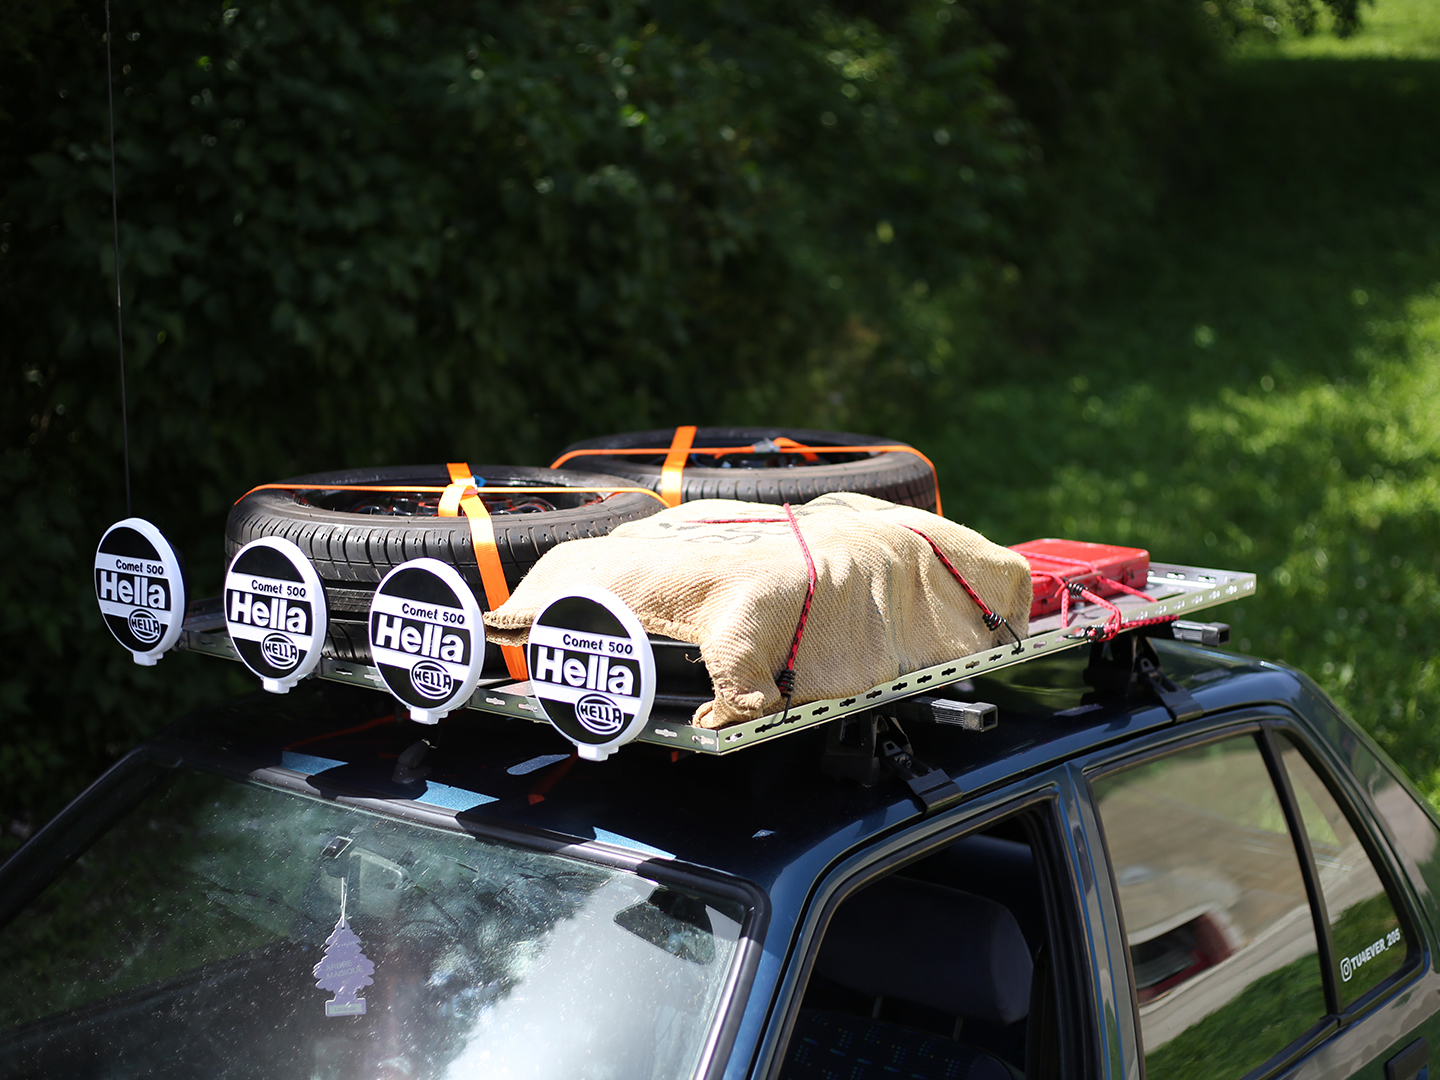
We also took advantage of the perforated angle on the front of the plate to attach four long range headlights (not yet wired in the photo), and we offset the antenna to the right side of the plate.
Results
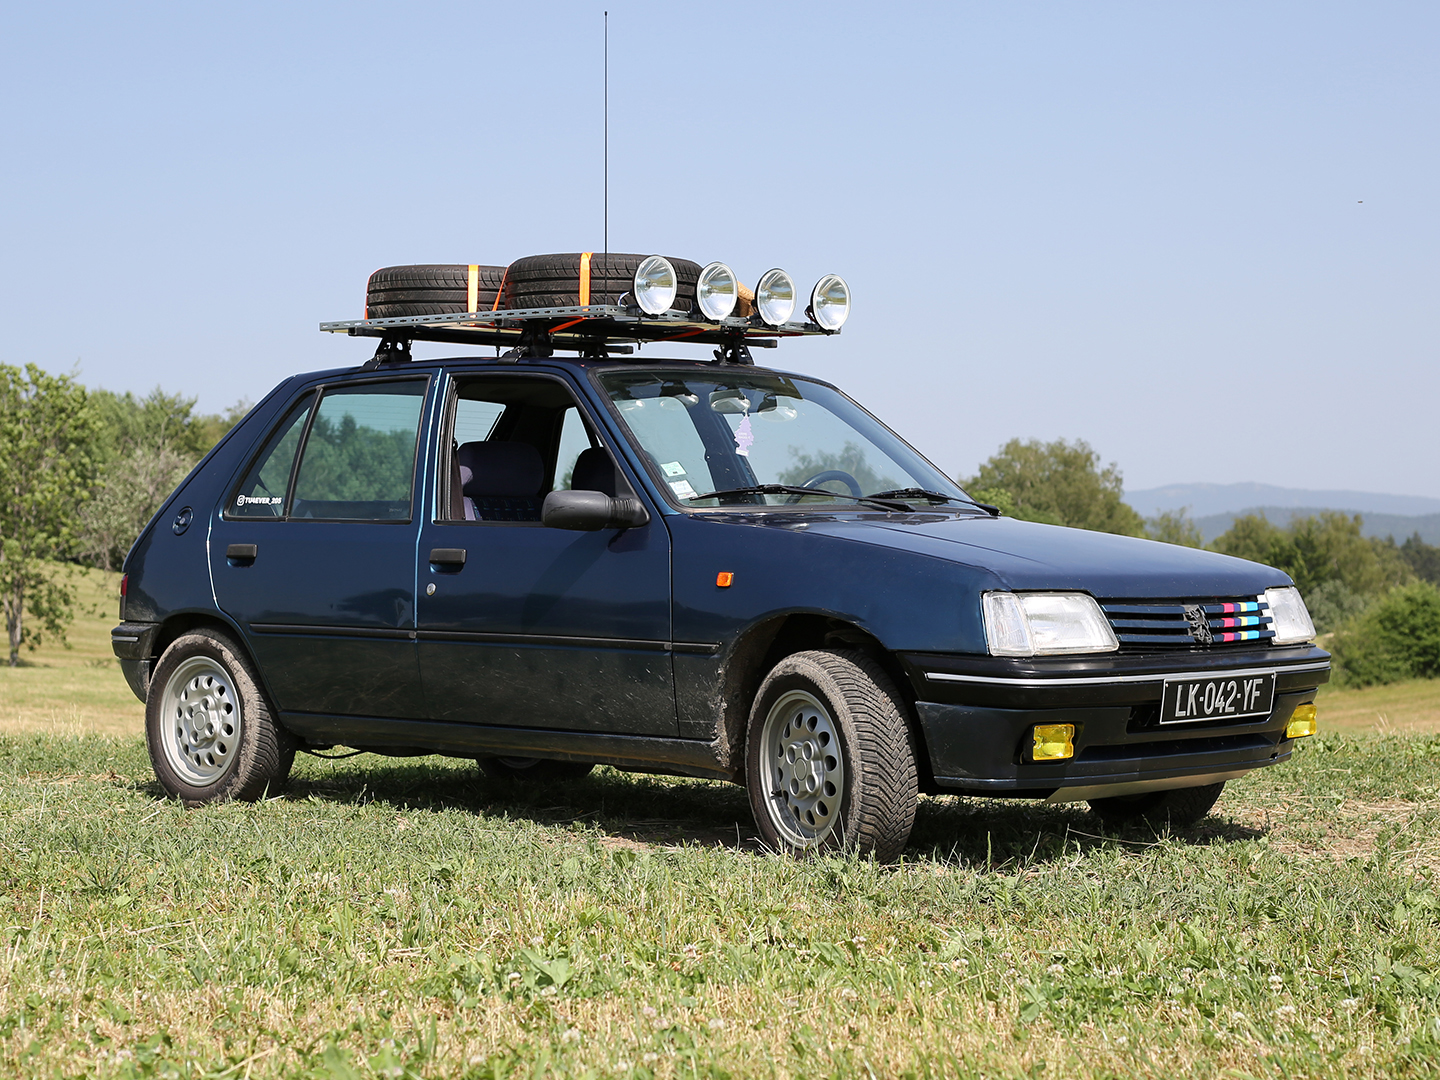
Here is what we got when we attached our gear to the roof rack. We attached two spare wheels, a gas can in a burlap cloth and a tool box.
All the elements are correctly fixed thanks to the presence of many holes serving as fixing points, the roof rack is solid and does not bend in spite of the loaded weight.
Here are some pictures of the final result:
