Alternator replacement
In order to avoid the frequent breakdowns during the raids, we have replaced our alternator and the accessory belt. We also installed a new battery, additional cigarette lighter and USB plugs, and a voltmeter to monitor the battery voltage.
Alternator replacement
Changing the alternator is a fairly simple step. We proceeded like this:
- Start by disconnecting the negative (-) terminal of the battery. In our case, we have a quick disconnect, which allows us to do without wrenches for this step.
- Disconnect the two cables connected to the old alternator. The middle small cable is for the charge indicator while the larger red one is for charging the battery.
- Loosen the fixing screws of the alternator to allow it to tilt.
- Loosen the tensioning screw until the belt can be removed.
- Then remove the old alternator.
To reassemble the new alternator, simply proceed in reverse order.
Tip
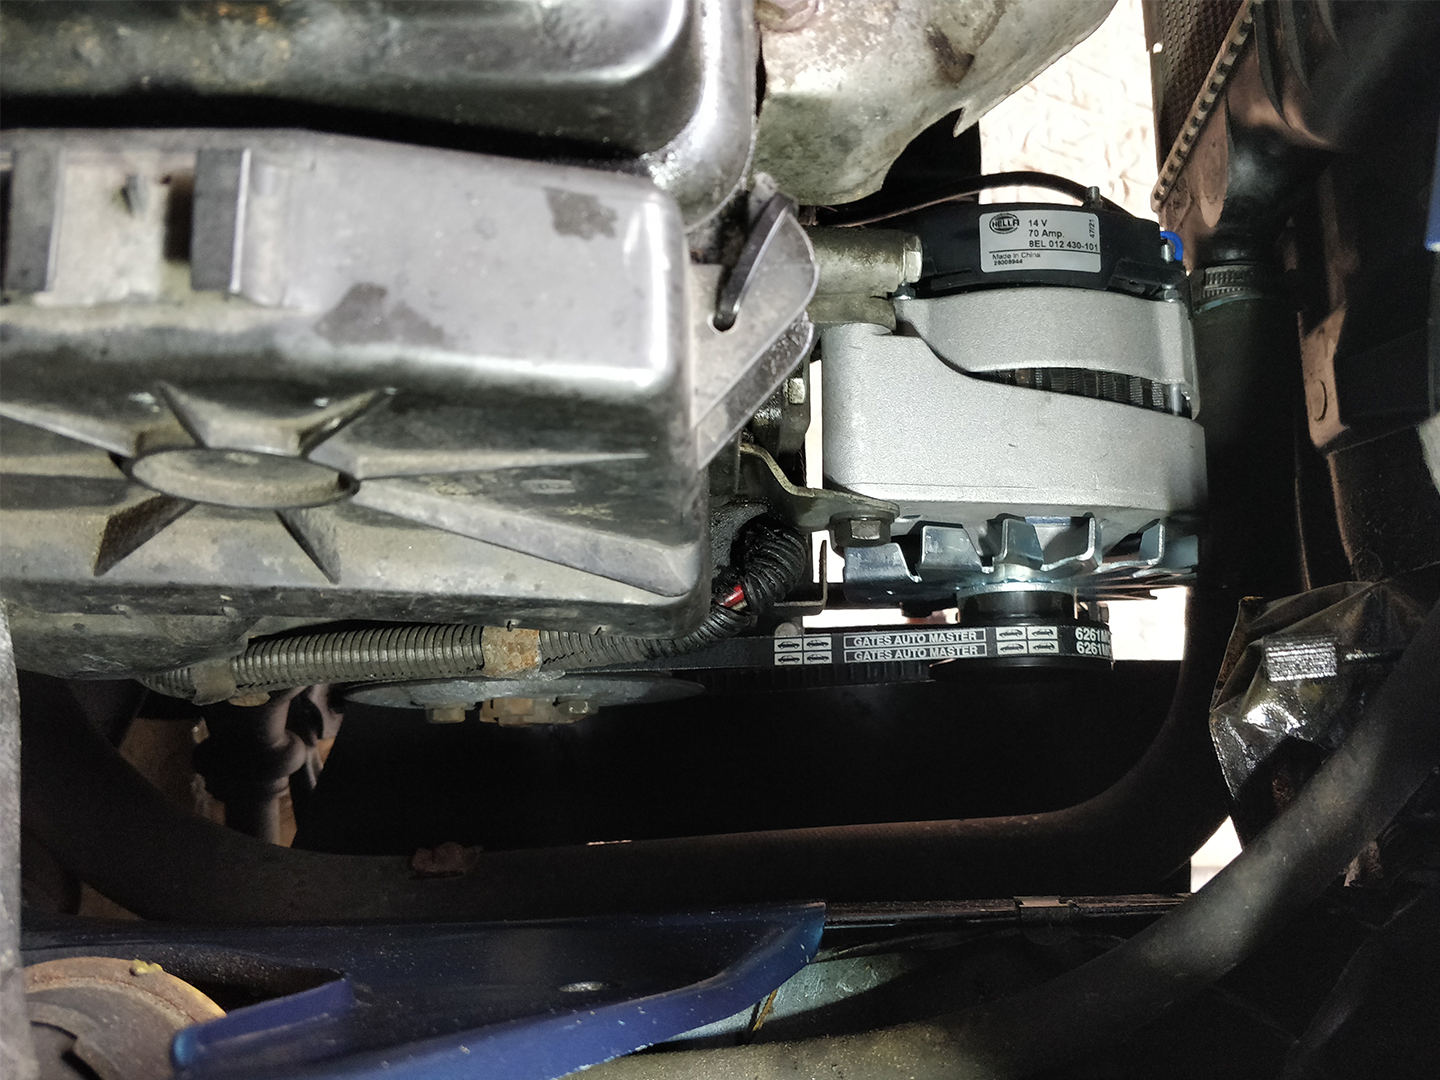
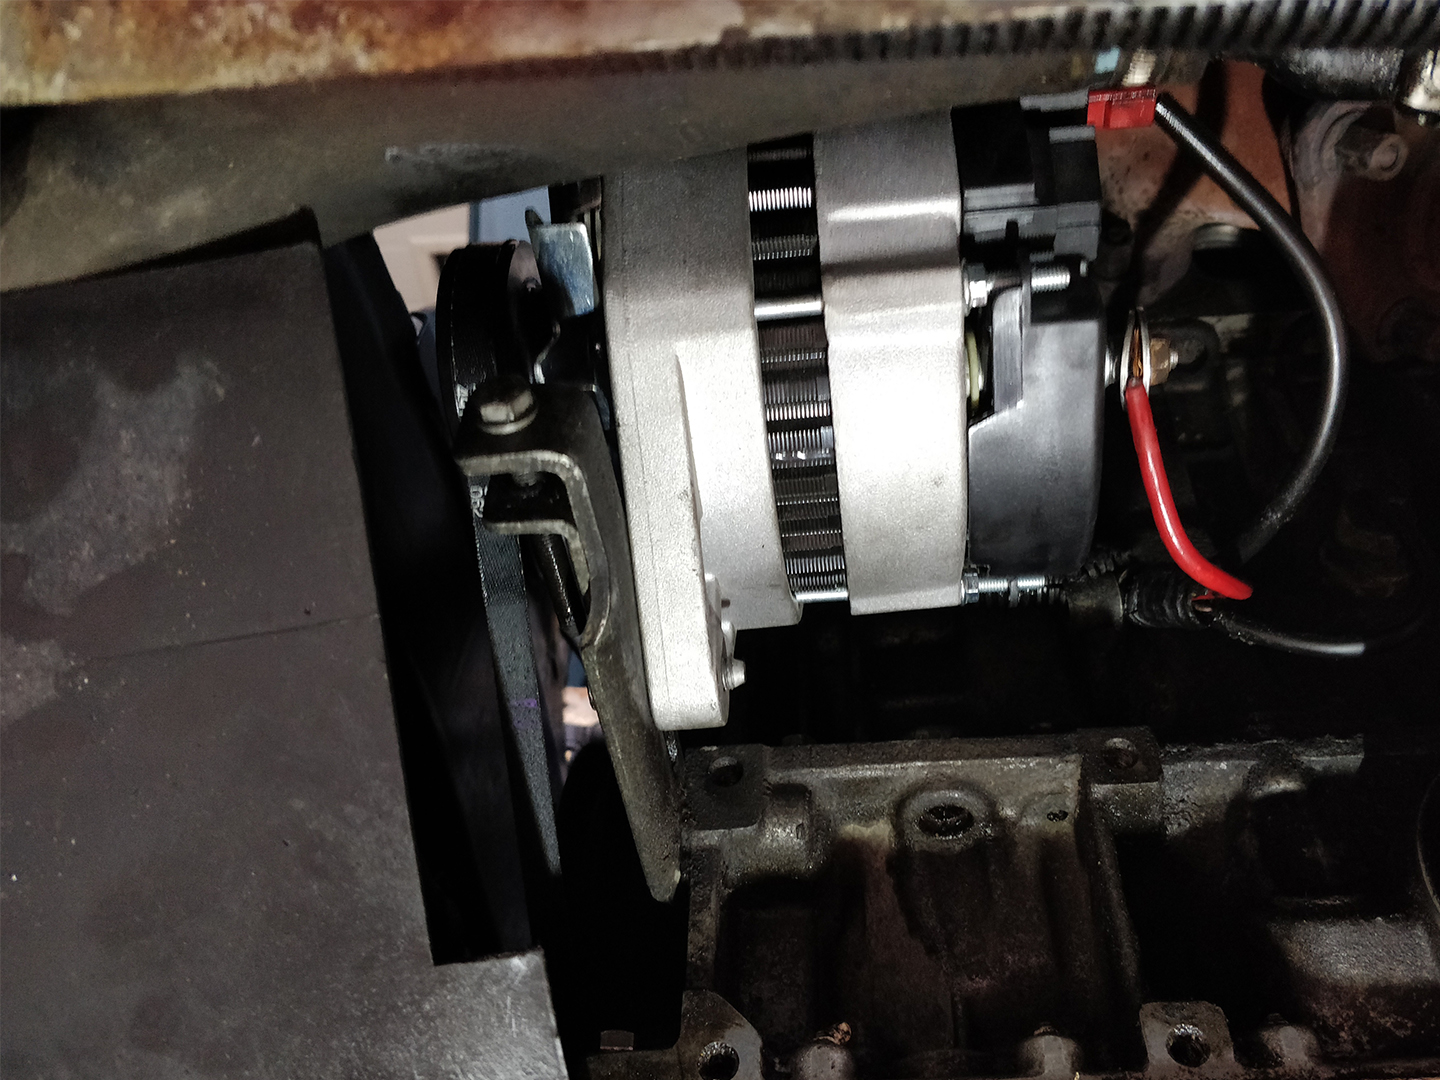
In our case, the manufacturer’s recommendation for the belt tension is a displacement of about 6mm when pressing on the upper part. Here is some pictures of the new alternator.


When we disassembled the charging cable, we broke the terminal due to bad condition and we did not have this part on hand. In this case, the solution is to pinch the cable strand between two washers (visible on the picture above).
Installed parts references
- Alternator : HELLA - 8EL 012 430-101
- Accessory belt : Belt Gates 6261MC AVX10 x 713
Adding accessories
Voltmeter
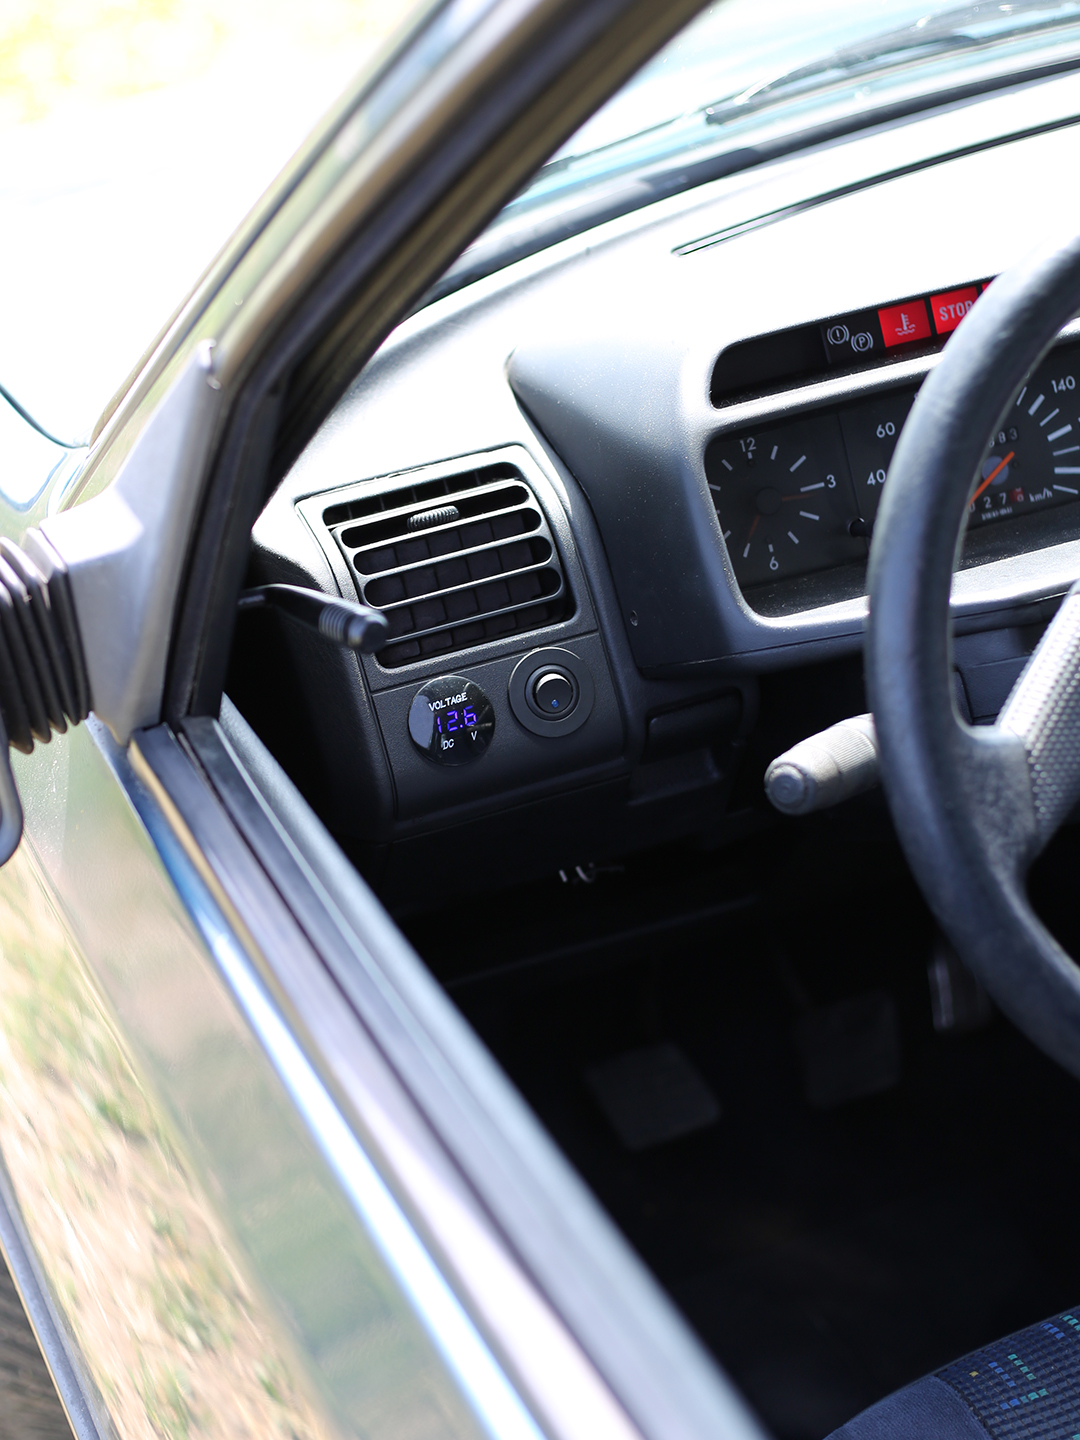
We wired the voltmeter on the +12V after ignition. It allows us to know the state of charge of the battery before starting the engine but also to check the good recharging of the battery when we drive and monitor the electrical consumption with powered devices.

USB plugs
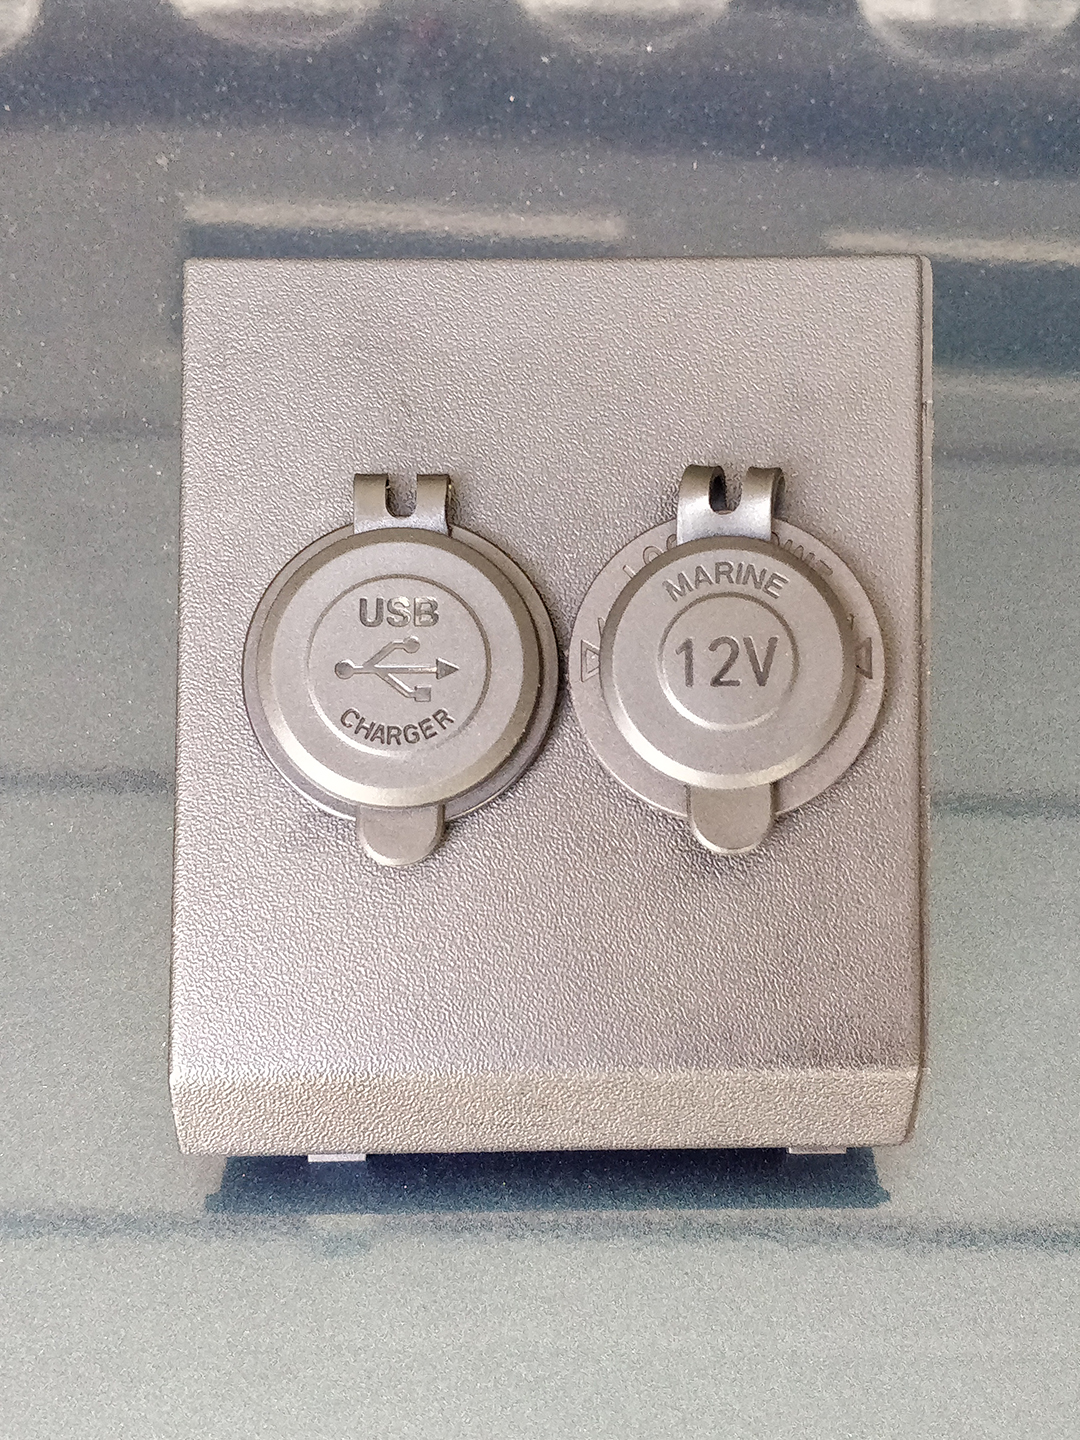
In order to be able to recharge all our electrical equipment such as GPS, smartphones, lights, drone and cameras, we decided to add a second cigarette lighter plug in addition to the original one. We also added 2 USB plugs in 5V, 2.1A.
